
Blind Installation Tips for a Better-Fitting Finish
A window treatment can look perfectly chosen in the showroom and still feel disappointing if it is mounted too high, too low, or slightly out of level. The best blind installation tips start before the drill comes out: confirm how the blind should sit in the window, account for trim and handles, and make sure the product fits the way your family actually uses the room.
For Houston-area homeowners, installation is also about comfort. A properly fitted blind or shade helps manage intense afternoon sun, protects privacy, and gives each room a finished, intentional look. A rushed installation can leave light gaps, awkward controls, and unnecessary holes in the wall or window frame.
Blind Installation Tips Start With the Right Mount
The first decision is whether your window treatment needs an inside mount or an outside mount. This affects the measurement, the amount of light entering around the edges, and the visual scale of the window.
An inside mount fits within the window opening. It offers a clean, built-in appearance and keeps the window trim visible, which works especially well with attractive woodwork or a modern, streamlined design. However, the opening must be deep enough for the blind’s brackets and operating components. Inside-mounted blinds also have small side gaps by design, so they may not be the best choice for bedrooms, media rooms, or windows that receive strong direct sunlight when near-blackout performance is the goal.
An outside mount sits above and beyond the window opening. It can cover uneven openings, shallow frames, and windows with limited mounting depth. It is often the smarter choice when privacy and light blocking matter most because the treatment overlaps the window on each side. Outside mounting can also make a smaller window appear taller and more substantial, particularly when the headrail is installed several inches above the trim.
Before choosing either option, look for obstacles. Window cranks, raised handles, alarm sensors, trim details, and nearby doors can change the plan. A treatment that looks right on paper must still operate freely every day.
Measure More Than Once Before Ordering
Custom blinds are made to the measurements provided, which makes accuracy non-negotiable. Measure width, height, and depth with a steel tape measure, not a cloth tape or a phone app. Record measurements to the nearest one-eighth of an inch and write down which number belongs to each window. Similar windows are not always identical.
For an inside mount, measure the width at the top, middle, and bottom of the opening. Use the narrowest measurement, since the blind must fit through the tightest point. Measure height at the left, center, and right, then use the longest measurement unless the manufacturer provides a different instruction. Measure the inside depth as well. A shallow opening may accept a standard blind but not a fully recessed headrail.
For an outside mount, begin by deciding the coverage you need. In many cases, extending the treatment beyond the opening creates better privacy and light control. The exact overlap depends on the window, the product, and nearby trim, but it should be planned before ordering rather than guessed during installation.
Do not make deductions unless the product instructions specifically call for them. Many custom manufacturers make the necessary allowances for inside-mounted products. An unnecessary deduction is one of the fastest ways to create a costly gap.
Check What Is Behind the Mounting Surface
Drywall alone may not hold a heavy shade, wide blind, or motorized treatment securely. Locate studs when possible, especially for larger windows and wood blinds. If studs are not positioned where the brackets need to go, use anchors rated for the wall material and the expected load.
Mounting inside a wood window frame can be straightforward, but older homes may have frames that are not perfectly square or solid throughout. Test the area carefully. For exterior-facing windows, avoid drilling into locations that could interfere with wiring, plumbing, or window hardware.
Set the Height for Better Light Control
A common installation mistake is mounting the headrail exactly at the top of the window trim without considering how the treatment will stack when open. When blinds or shades are raised, they need room. A higher placement can reveal more glass, make ceilings feel taller, and keep the view clearer.
For outside-mounted roller shades, Roman shades, and curtains, mounting above the trim often gives the most polished result. The amount of height depends on the ceiling, molding, and product stack, so there is no one-size-fits-all number. In a room with low ceilings, a higher mount can visually open the space. In a room with detailed crown molding, the available space may determine the placement.
Width matters just as much. If a shade needs to block sun or provide privacy, its brackets should allow sufficient overlap beyond the glass. If the window is beside a door or tucked into a narrow wall section, balance the need for coverage with the available clearance.
Keep Brackets Level and Square
Even a difference of a quarter inch can make a blind look crooked, especially against clean white trim. Mark bracket positions with a pencil, check them with a level, then check them again before drilling. Do not rely only on a window frame to be level. Many frames, particularly in older homes, are slightly out of square.
Install the brackets firmly, then test-fit the headrail before completing any finishing steps. Make sure the blind snaps into place securely and that the release mechanism is accessible. With a multi-bracket system, all brackets must line up precisely or the headrail may bind.
After the blind is installed, lower and raise it several times. Watch for rubbing, uneven lifting, or fabric that tracks to one side. Small alignment adjustments are much easier before the room is fully put back together.
Plan for Safe, Everyday Operation
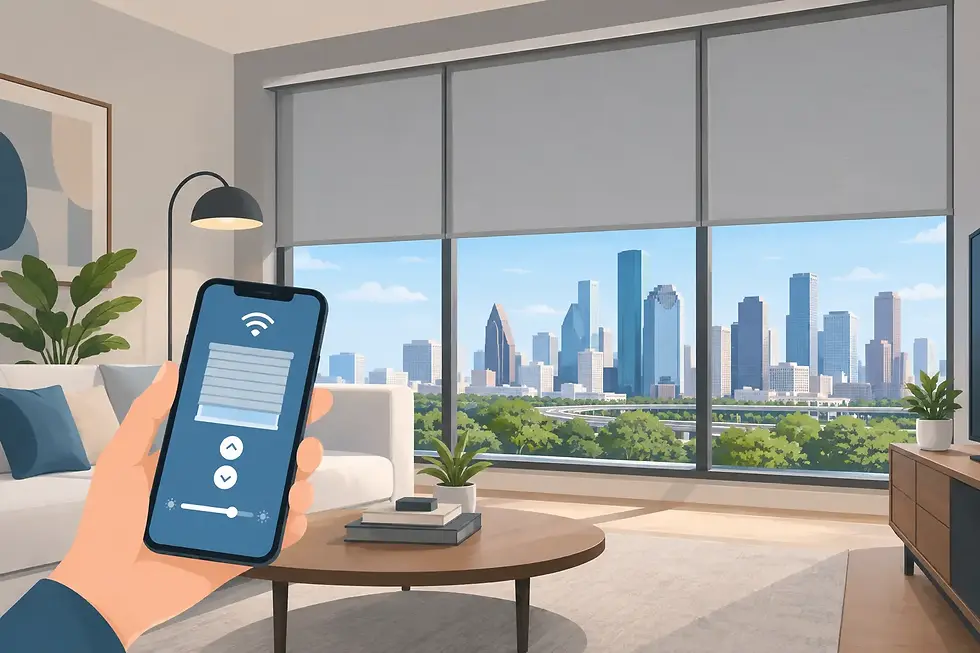
Function should guide the installation as much as appearance. Cordless blinds and shades are a strong choice for homes with children and pets because they remove dangling lift cords. They also create a cleaner silhouette at the window. For hard-to-reach windows, motorized shades can be especially practical, allowing homeowners to control glare and privacy without climbing onto furniture or stretching over a tub.
If a corded product is installed, secure the cord-control device at the proper height and follow the manufacturer’s safety instructions exactly. Do not leave cords looped around handles, furniture, or nearby hardware.
Consider furniture placement too. A treatment that is easy to operate in an empty room may be frustrating once a sofa, bed, or dining table is in place. Before finalizing the mount, think about who will open it, how often, and from where.
Test Privacy and Sun Coverage at the Right Time of Day
Texas sunlight changes throughout the day. A window that seems manageable at noon may become a source of glare and heat at 4 p.m. Test the blind or shade during the times the room gets the strongest exposure. Look for edge gaps, reflected glare on televisions, and direct sun on flooring or upholstered furniture.
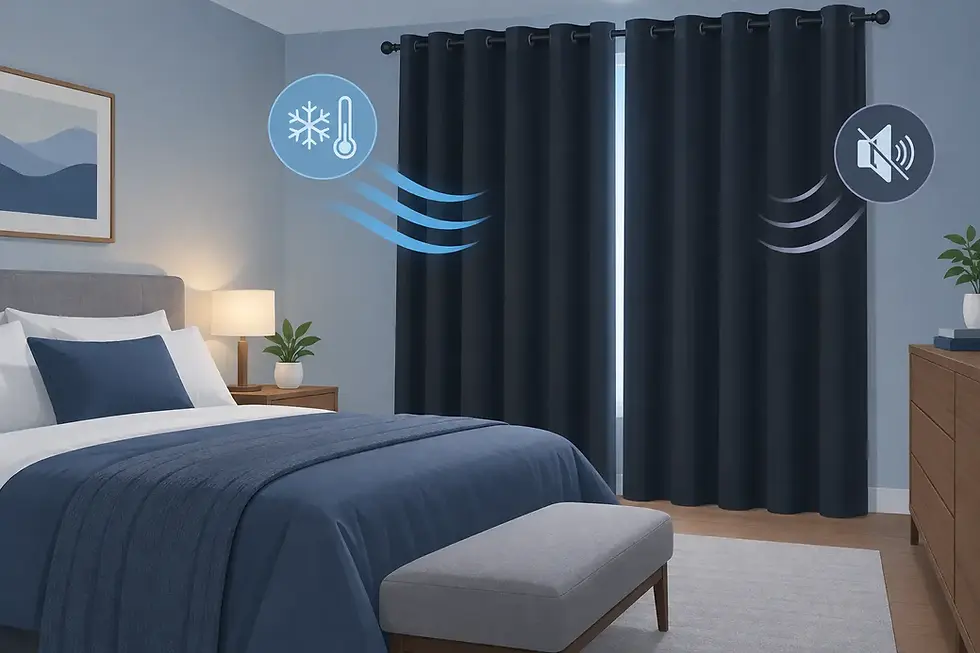
This is also the time to test privacy from outside. Turn on interior lights after dark and step outside, or ask someone to check from the street or neighboring yard. Some sheer and light-filtering fabrics provide beautiful daytime privacy but allow silhouettes at night. That may be ideal in a living room, while a bedroom may need a room-darkening or blackout option.
Know When Professional Installation Saves the Day
Simple, lightweight blinds on standard windows can be a manageable weekend project. The trade-off is that the smallest measuring or mounting error can affect the fit, finish, and long-term performance. Bay windows, oversized openings, plantation shutters, layered curtains, motorized shades, and solar screens call for more planning and precision.
Professional measuring and installation remove the guesswork around bracket placement, mounting depth, product clearances, and level alignment. At A Lone Star Blinds, homeowners can pair design guidance with professional measurement, custom options, and installation support, without paying for a luxury-store experience.
The right window treatment should feel effortless once it is in place. Start with a clear plan, respect the details behind the wall and around the frame, and choose help when the window deserves a more exact fit. That is how a simple blind becomes better privacy, better comfort, and a better-looking home every day.

Comments